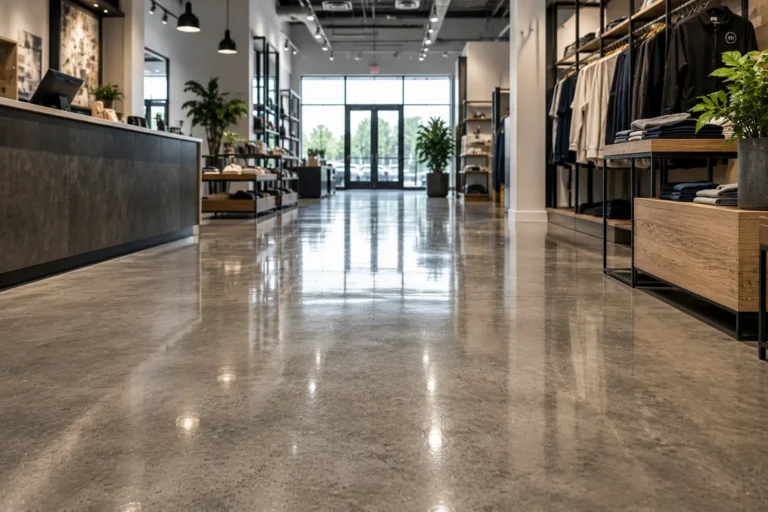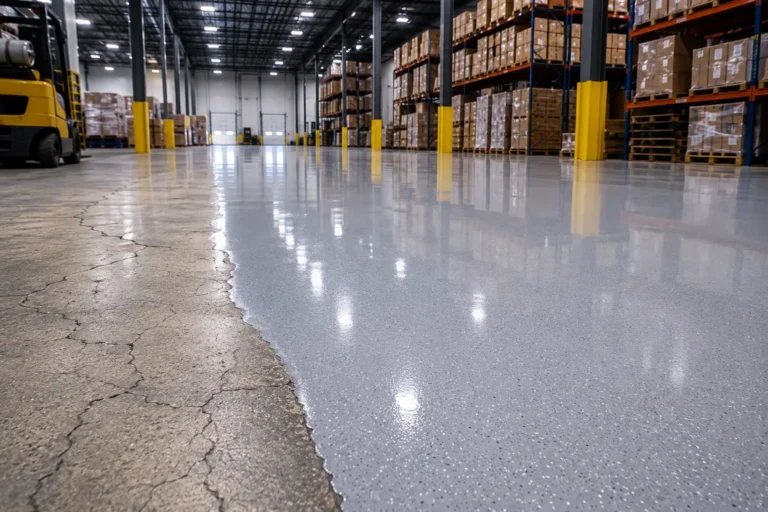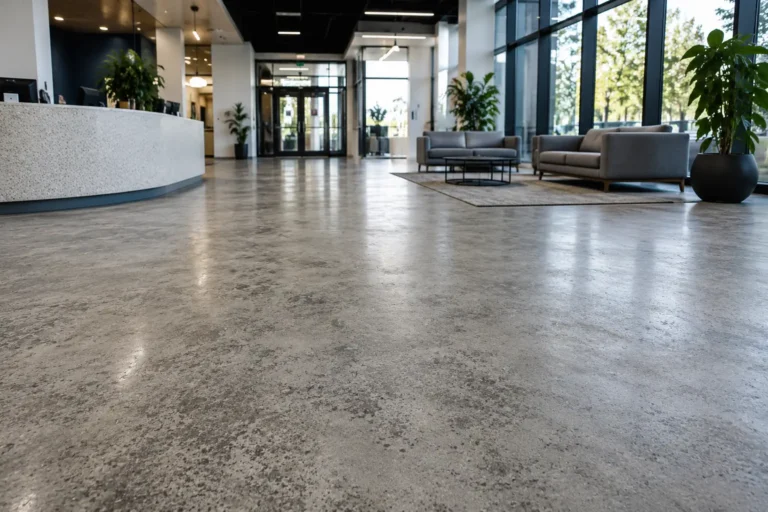

VCT waxing means sealing the tile and then building a protective layer of floor finish on top of it. On a new floor you clean off construction soil, apply a sealer, and finish the floor with several thin coats. After that, you keep the finish alive with daily cleaning, burnishing, scrub and recoat visits, and a full strip and wax only when buildup or damage leaves no other option.
This guide covers both parts: how to finish new VCT after installation, and how to run a VCT cleaning and waxing program that keeps the floor looking right over the long term. If you manage a store, school, clinic or plant, it also tells you when to do each task and when to leave the floor alone.
Why VCT needs floor finish
Vinyl composition tile is porous at the surface and scuffs easily. Floor finish, often called wax, is a sacrificial layer. Foot traffic, carts and cleaning equipment wear the finish instead of the tile.
That layer also makes daily work easier. Soil sits on the finish instead of in the tile, so mopping and auto scrubbing take less effort.
When the finish wears, you renew it. You do not replace the floor.
Most products sold as VCT floor wax today are acrylic or polymer finishes, not true wax. The word “wax” stuck, and it is what your team and your vendors will use. The important point is that the sealer and the finish must work as a system, so use products made to go together and follow the manufacturer’s instructions for the tile and the finish.
How to wax VCT after installation
New tile is not ready for finish the moment the last piece is set. Your installer sets the timing, and the adhesive and tile manufacturers set the rules.
Waxing too early can trap moisture and adhesive vapor under the finish and cause clouding or poor bonding. Ask the installer when the floor can be cleaned and finished, and get it in writing before you schedule the crew.
Once the floor is released, the work runs in this order.
- Clear the space. Remove furniture, pallets and other trades from the area so the whole floor can be treated edge to edge.
- Remove construction soil and residue. New floors carry dust, adhesive smears, footprints and protective coverings. A machine scrub with a cleaner or stripper made for the job lifts this soil. It also removes any temporary finish the installer applied.
- Pick up the solution. Use a wet vacuum and squeegee to remove all the liquid, including along edges and corners. Dirty solution left behind will bond into the finish.
- Neutralize and rinse. Rinse with a neutral cleaner or clean water to counter the alkalinity left by the stripper. If you skip this step, the finish will bond poorly.
- Let the floor dry completely. Water trapped in seams or under the tile edge shows up later as hazing or whitening.
- Apply sealer in thin coats. The sealer fills the pores in the tile and gives the finish something to grip. Keep each coat thin and even, and let each one dry before the next.
- Apply finish in thin coats. Thin coats level better, dry harder and look cleaner than a few heavy ones. The number of coats depends on the gloss you want, the traffic the floor will see, and the finish manufacturer’s instructions.
- Protect the floor while it cures. Keep traffic and rolling loads off until the finish manufacturer says the floor can return to service.
This is the basic sequence, not a substitute for the product label. Always check the instructions for both the tile and the finish before work starts.
A good crew will also test a small area first. If you would rather hand the whole job to a specialist, see our commercial VCT strip and wax services.
VCT cleaning and waxing: the routine that protects the finish
A finish does not fail from age alone. It fails from grit, wrong chemicals and gaps in the routine. A good VCT program has three layers.
Daily and weekly care
Dust mop every day, and keep entrance matting clean, because most of the grit on a floor walks in from outside. Damp mop or auto scrub with a neutral cleaner at the dilution on the label.
Wipe up spills fast. Use pads and brushes that match the finish, not the most aggressive pad on the cart.
Periodic restoration
When the gloss dulls in traffic lanes, burnishing or buffing restores shine without adding product. When the finish is worn but the floor is otherwise clean, a scrub and recoat refreshes it. We cover that in more detail on our page for VCT scrub and recoat.
Full strip and wax
This is the reset. You use it when the finish has built up, yellowed, trapped dirt, or started to peel. It is also the right move when the floor has been recoated so many times that a scrub no longer gets it clean.
If you run a facility with a high volume of foot traffic, a customized maintenance program matches these tasks to the way your building is actually used. A school corridor and a pharmacy sales floor do not need the same schedule.
VCT floor polishing: burnishing and buffing
People searching for VCT floor polish usually want one of two things. They want the gloss back, or they want a fresh coat of shine on a tired floor. The answer depends on the finish that is left.
Burnishing uses a high-speed pad to heat and smooth the existing finish. It works when there is still enough finish on the tile and the dullness is surface wear.
It does not add product, so it cannot repair a finish that is worn through. See our page on burnishing and buffing for how this fits a program.
If burnishing leaves bare or scratched tile, the floor needs a recoat. If the recoat will not look uniform, it needs a strip. Starting with the lightest task that fixes the problem saves labor and extends the life of the finish.
VCT stripping and waxing: when to do it
Do not strip on a calendar. Strip on condition. The signs that point to a full strip and wax are these.
- Yellow or amber color that scrubbing does not remove
- Dark buildup along edges, corners and under equipment
- Dirt that is sealed into the finish and no longer comes up
- Peeling, flaking or cloudy areas
- Gloss that returns for a day after burnishing and then drops
- A floor that has been recoated again and again without a reset
If none of these apply, a scrub and recoat is the better move. It costs less labor and keeps the floor in service sooner.
When a strip is needed, the process is the same as new floor prep. The crew applies stripper, agitates it with a machine, picks up the slurry, rinses, neutralizes, lets the floor dry, and then reseals and refinishes in thin coats. A strip and wax can be scheduled around your building hours.
Choosing a floor wax for VCT tile
Four decisions drive the product choice.
- Traffic. A busy retail or school floor needs a finish rated for heavy use. A low-traffic office does not.
- Sheen. Gloss shows scuffs and soil more than satin does. Pick the sheen you can maintain with your burnishing schedule.
- Compatibility. Use a sealer and finish that are designed to work together, and confirm they suit the tile.
- Maintenance capacity. A high-gloss finish needs burnishing or recoats on a regular cycle. If your team cannot support that, choose a finish that wears more gracefully.
Whatever you choose, keep the exact product names and instructions on file. The next crew should know what is on the floor before it touches it.
Common VCT waxing mistakes
Most failures come from a short list of errors.
- Waxing new tile before the adhesive and installer say the floor is ready
- Skipping the neutralizing rinse after stripping
- Applying thick coats instead of thin ones
- Putting the next coat down before the last one has dried
- Mixing sealers and finishes that were not made to work together
- Using harsh cleaners or aggressive pads on a daily basis
- Adding coat after coat on a floor that needs a strip
- Letting traffic back on before the finish has cured
Planning the work in your building
To get a quote for VCT waxing, send us the approximate square footage, photos of the floor, the tile and any finish currently on it, and the hours the space is open. If the floor is new, tell us the installation date and what the installer has said about timing.
TCS Floors schedules work at night and on weekends so your operation keeps running, and we build customized maintenance programs so recoats and burnishing happen before a strip becomes necessary. We are commercial only, work nationwide, and have 33+ years in commercial floor care.
Frequently asked questions
What does VCT waxing involve?
VCT waxing means cleaning the tile, applying a sealer in thin coats, and then building a protective finish in several thin coats. On a new floor you start after the installer says the floor is ready. On an older floor you strip the old finish first when buildup or damage makes a recoat unsuitable.
What is the difference between VCT cleaning and waxing, and stripping and waxing?
Cleaning and waxing is the regular program: daily cleaning, burnishing, and scrub and recoat visits that renew the finish. Stripping and waxing removes the old finish completely and starts over. Strip when the finish is yellow, built up, peeling or sealed with dirt, not on a fixed calendar.
Can you polish a VCT floor?
Yes, if there is enough finish on the tile. Burnishing or buffing smooths the existing finish and restores gloss without adding product. If the finish is worn through, the floor needs a recoat, and if the recoat will not look even, it needs a strip.
What floor wax should I use on VCT tile?
Use a commercial acrylic or polymer floor finish made for VCT, paired with a compatible sealer. Choose it by traffic, sheen and how much maintenance your team can support, and follow the manufacturer’s instructions for the tile and the product.
Do you offer VCT tile waxing in Austin, TX?
TCS Floors is commercial only and works nationwide. Send us the building location, square footage, photos of the floor and your working hours, and we will plan the strip and wax or recoat around your schedule.